How to Break an Electric Motor for Testing Purposes?
Testing an electric motor often requires breaking it down to understand its inner workings. To break an electric motor safely, one must follow specific steps. The process is not as straightforward as it may seem. Careful planning is essential.
Understanding how to break electric motor components is crucial. You need proper tools that can assist in disassembly. What parts will you examine? Are you prepared for unexpected challenges? This exploration can lead to valuable insights. However, the method can cause damage if not properly executed.
Analysis of faults in electric motors often necessitates dismantling them. But this can be tricky. You may overlook some elements. When you break electric motor parts, remember to document each step. Failure to do so may result in confusion later. Maintaining safety should be the top priority throughout this process.
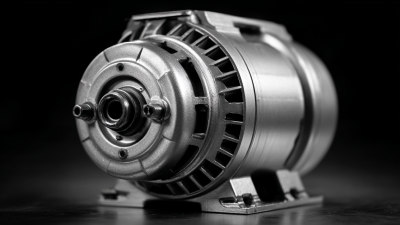
Understanding Electric Motors: Types and Mechanisms
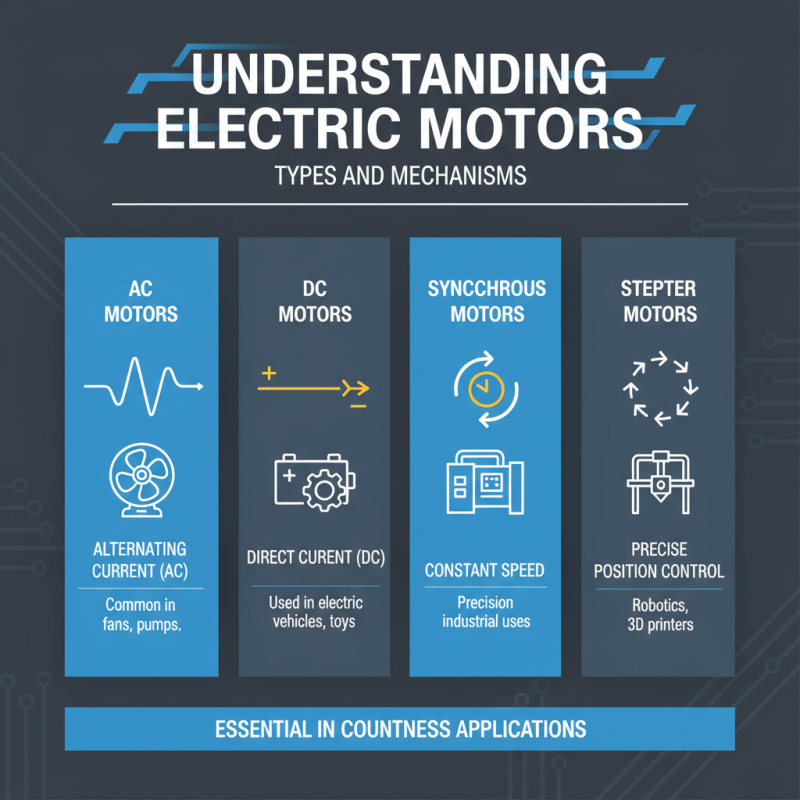
Electric motors are essential components in countless applications. They can be divided into several types: AC motors, DC motors, synchronous motors, and stepper motors. Each type functions differently based on its mechanism. AC motors rely on alternating current, while DC motors utilize direct current. Synchronous motors maintain a constant speed, while stepper motors offer precise control for position.
Recent industry reports indicate that the global electric motor market is projected to reach $152 billion by 2024, growing at a CAGR of 7.2%. This growth reflects the increasing demand for energy-efficient solutions in various sectors. However, understanding the mechanisms behind these motors is crucial for achieving optimal performance. For instance, the efficiency of an AC motor can be significantly improved by selecting the right stator and rotor design.
Many practitioners face challenges when testing these motors. It is easy to overlook how heat dissipation affects performance. Some designs may not account for this adequately. Real-world testing is necessary to identify these shortcomings. Data shows that nearly 30% of motor failures relate to improper thermal management. Addressing these issues leads to better reliability and efficiency in electric motor applications.
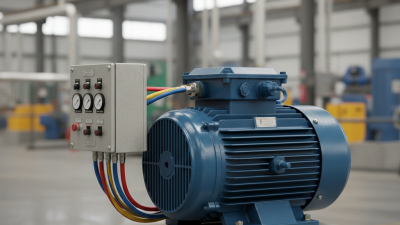
Preparing for Electric Motor Testing: Tools and Safety Precautions
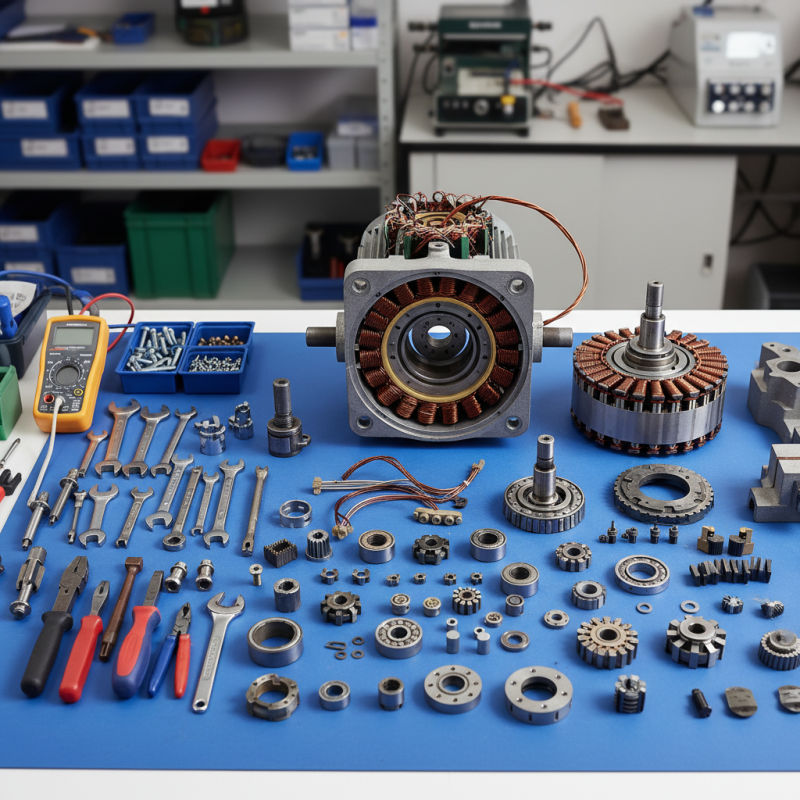
Before diving into electric motor testing, it's essential to prepare adequately. Gather the necessary tools. A multimeter is vital for checking electrical parameters. Insulated tools are crucial for safety. Wearing personal protective equipment is non-negotiable. Gloves and goggles can prevent accidents. Create a tidy workspace to avoid hazards. An organized area can minimize mistakes.
Safety precautions cannot be overstated. Disconnect the power supply before manipulation. Ensure the motor is completely de-energized. Ground yourself to avoid static electricity buildup. Pay attention to the motor's condition. Look for visible damage before starting. Unusual noises during testing may indicate issues. Document any findings for later review. Reflect on your actions. Were you methodical? Did you prioritize safety? These reflections can enhance your testing skills for future tasks.
Step-by-Step Guide to Disabling Motor Components for Testing
Disabling motor components for testing can be a delicate process. It requires careful handling to avoid accidents. According to recent industry data, around 30% of motor failures can be traced back to improper testing methods. Thus, it’s vital to follow a structured approach.
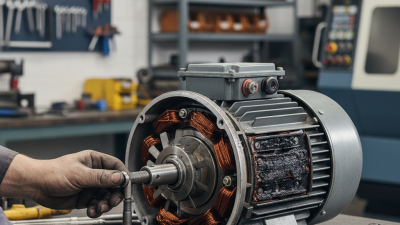
Start by disconnecting the power supply. Ensure that all capacitors are discharged. This can prevent unexpected electrical shocks. Use a multimeter to confirm that the motor is indeed de-energized. Next, remove the protective casing. Often, screws can be hard to find. A single misplaced screw can lead to issues later. Treat each component with care, making note of its original position.
Consider disabling the rotor and stator separately. This allows for isolated testing of each component. Remember, the bearings often bear significant wear. They might show signs of rust or grime. Pay attention to these details. Testing without proper cleaning might yield misleading results. Documentation of your findings will help identify potential areas for improvement.
Testing the Electric Motor: Measuring Performance and Identifying Issues
When testing an electric motor, measuring performance is crucial. Start by checking the voltage and current. This requires basic tools like a multimeter. Connect the multimeter to the motor's terminals. Observe the readings carefully. Are they within expected ranges? If they are not, it may indicate an issue.
Next, assess the motor's speed. A tachometer can help with this. Measure the RPM while the motor operates under load. Compare this to the specifications. If the speed is significantly lower, something is off. Perhaps there is mechanical resistance or wear.
Lastly, listen for unusual sounds. Humming or grinding noises can signify underlying problems. Pay attention to vibrations too. Excessive vibration often points to unbalanced components. These signals are important for understanding the motor's condition. Taking notes during the testing process helps to identify patterns over time.
Reassembling the Electric Motor: Safety Measures and Best Practices
Reassembling an electric motor requires careful planning. Before starting, ensure safety measures are in place. Wear safety goggles and gloves. Use tools designed for electrical work. This will minimize hazards during reassembly. Keep all parts organized. Label screws and components. It helps avoid confusion later.
When putting the motor back together, follow a systematic approach. Start with the stator. Ensure it fits snugly. Pay attention to electrical connections. Incorrect connections can lead to malfunctions. Double-check the alignment of rotating parts. They should move freely without friction.
After reassembly, perform a thorough inspection. Check for any loose screws or misplaced parts. This step is crucial for safety. A forgotten component can cause failures later on. Consider testing the motor in a controlled environment first. Monitor its performance closely. Reflect on the overall process. What can be improved next time? Keeping a detailed record can help.
Electric Motor Performance Before and After Testing